Now you know how your heroes will battle their way through the Forsaken Glade, it's time to meet your enemies!
This week Sherwin shares all about the fantastic creatures of Bardsung: Tale of the Forsaken Glade, with a little sneak preview of the treasures scattered throughout the game for good measure.
We have a huge range of fearsome foes to introduce you to in the Forsaken Glade, but we thought we’d start with the Glade’s tiniest enemy! The Rustlings may be cute, but don’t underestimate these mighty little guys—they have a habit of appearing when least expected. (And keep your eyes peeled for more enemy reveals throughout the update!)

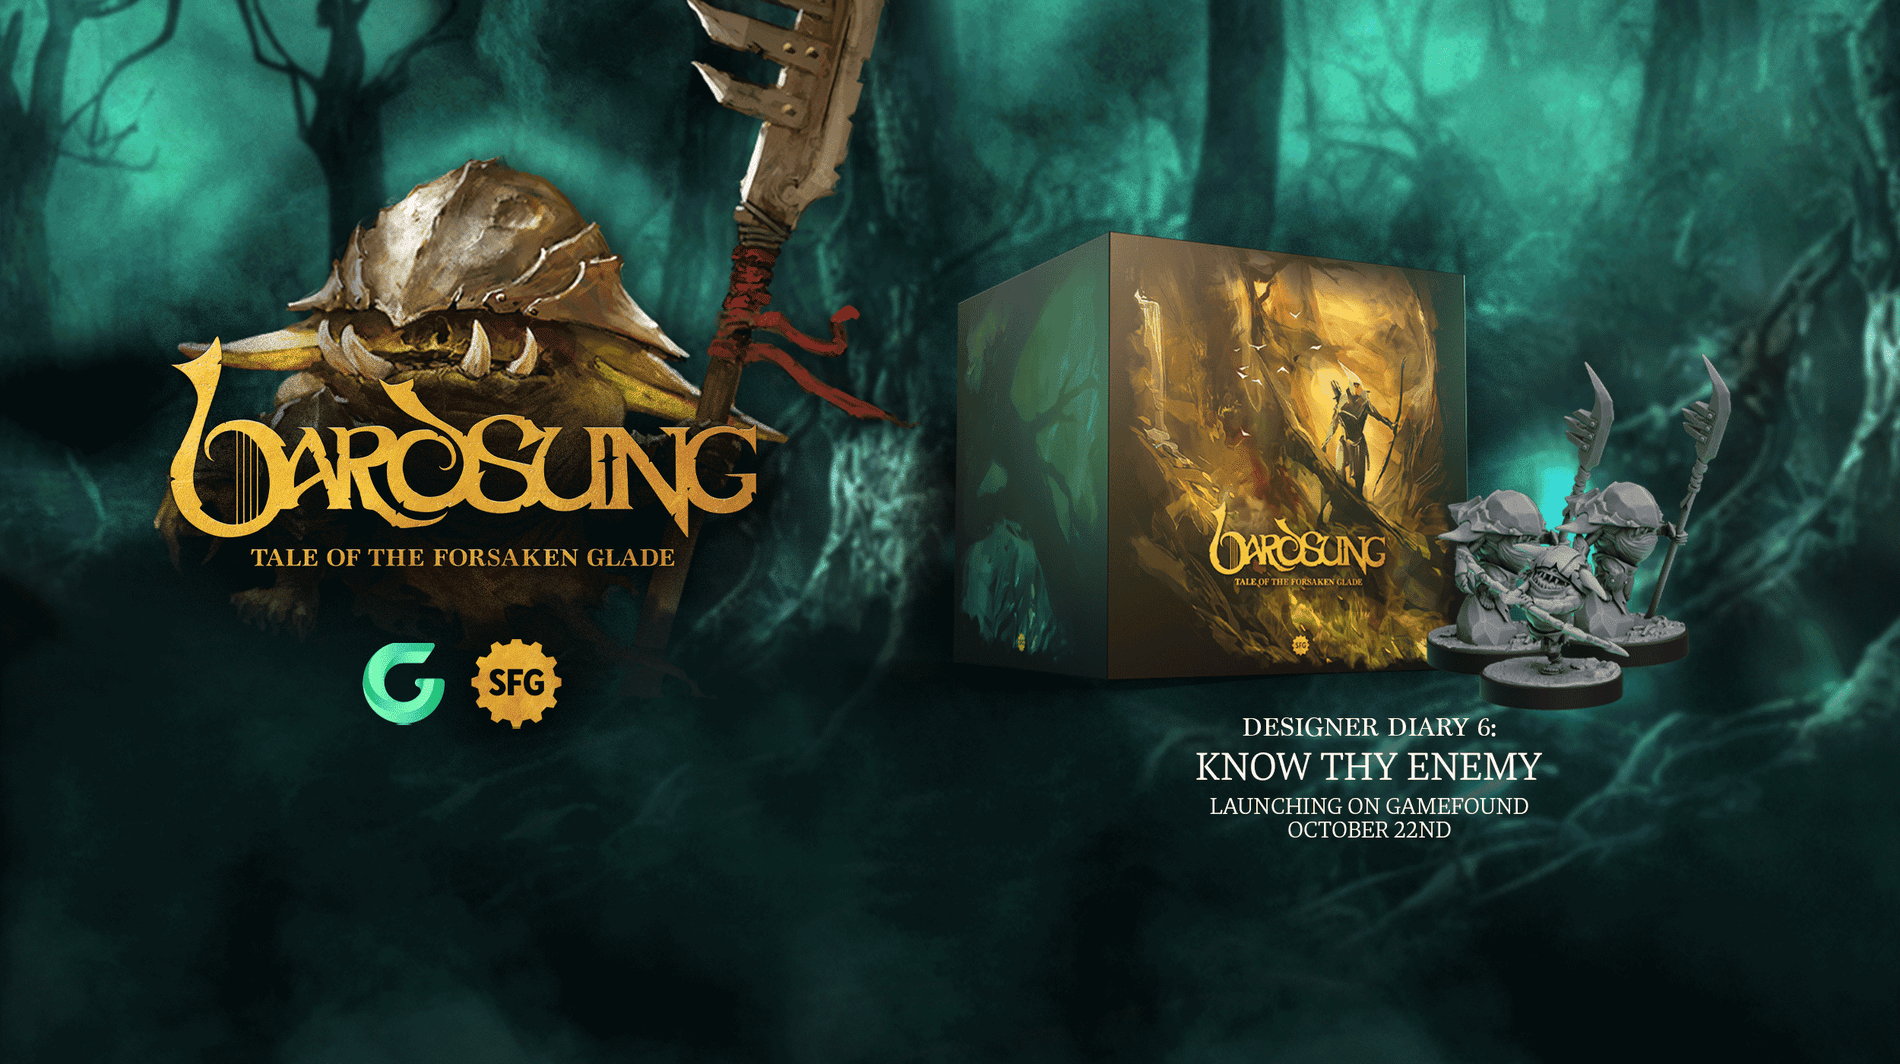
Know Thy Enemy
By Sherwin Matthews
Welcome heroes, to the final combat-centric designer diary. It’s been a fun ride so far, delving into heroes and their abilities, but now it’s time to take a look at their antithesis… enemies!
I’ll be referring to features mentioned in the previous designer diary, but if you missed it, fear not! You can find it here.
The Humble Stabber
One of my favourite models and pieces of art from the forthcoming game, this little Rustling is simply adorable. I mean, just look at him!

I’m going to break from the norm and skip the first hex in the left hand corner for a moment and come back to that later. As important as it is (arguably the most important stat on the card), it’s far easier to discuss when we get to attacks.

Basic Enemy Stats
Next on the card we see the familiar speed stat, which we’ve encountered before on hero cards. Following that is another familiar stat for Bardsung veterans—toughness.
Toughness represents a combination of how naturally resilient an enemy is and how effective its armour is. Recall in the previous article I mentioned making damage rolls? This is the value you’re trying to beat when doing so.
On the opposite side of the card we see another familiar symbol—morale. As with heroes, this represents the enemy’s willingness to stay and fight. If the enemy gathers a number of wounds equal to this value, we then refer to the next symbol to see what happens.
Down but Not Out!
There are two symbols that can appear here. The first (shown in this example) is defeated. If an enemy has this symbol, they’ve either been killed or fled, and they’re removed from the playing area along with all of their tokens.
The other symbol is the bloodied symbol, which means the enemy has suffered a grievous wound but still continues to fight. If this happens its current wound tokens are discarded, and it gains the bloodied token. If the enemy gains a number of wounds equal to its morale a second time, the enemy is defeated.

So why not simply give the enemy double its normal morale value? Good question.
Behind the Design of Bloodied Enemies
The bloodied token is an important tool from a design perspective for a couple of reasons. One is allowing us to keep the number of tokens that the players are keeping track of on the table down.
More importantly, it allows us to change some aspects of how the enemy operates, including giving it different behaviour AI, attacks, or adding special rules. Small tweaks like this go a long way, helping to build depth into both character and combat puzzles.
A note for returning veterans on bloodied enemies: Previously, where enemy cards could be double sided, all cards used in the marching order now use the same back. This means the amended elements of an enemy’s card are all on the front of the card, and that bloodied enemies are now tracked individually, unlike in the Ancient Forge.

Enemy Attack Profiles
Moving to the next section of the card, we see the enemy’s attack profile. Not unlike the hero attack profile, this shows the attack range and hit effects of the enemy’s attack.
Now I can also return to the large hex at the top of the card, which is the enemy’s target number (known in shorthand as TN).
In Bardsung, all dice rolls are player facing and made from the hero’s perspective. In this example, that means players never roll for enemy attacks, but instead make a defence roll for the hero being attacked. If they fail the roll, they simply suffer the damage shown.
Whether you’re attacking an enemy or being attacked by it, the number you use is the enemy’s TN, which you want to either equal or exceed. If you pass the TN you’ve either hit the enemy, or evaded the enemy’s attack, depending on context.
Players of the Ancient Forge might notice this number is a little lower than they’re used to. That’s because action rolls are now made on 2d6, rather than 1d20.

Two Dice are Better Than One
There are a few reasons we went with 2d6 for this game. One die systems are very swingy and we wanted to even out our probabilities a little.
Sometimes, no matter the odds, the polyhedral simply doesn’t want to play ball, and as a single die there’s very little that can be done about it. Having a two-dice system turns a straight line on the probability chart into a more satisfying bell curve, helping players land their attacks more reliably.
It also really changes the way fate is used to empower attacks, adding a d6 instead of a d4. It sounds simple on paper, but believe me, the decision to add that extra dice or not when you really need to hit that TN is fascinating psychology.
A two-dice roll also gels much better with the new challenge system we’ve introduced, which is d6 based. Cohesiveness across systems is always welcome in any game.

Special Rules for Enemies!
Below the attack profile are the enemy’s special rules (if it has them). In this instance we see that Stabbers—whilst individually weak—are dangerous in larger numbers, or when a hero is overwhelmed by multiple foes.
Easily understood and flavourful for such a sneaky creature, but I want to highlight that this also provides the players with tactical options when they see the enemy—stay clear and use pushes and/or dodges to keep from getting swamped!
Enemy AI
The final symbols are the enemy’s behaviour symbols, read from left to right. Each enemy in Bardsung operates using an intuitive AI, which allows different types of enemies to react in different ways, and adapt according to the battlefield. Here, we see the Stabber is ferocious, and retreats.

Behaviour cards are enacted from top to bottom. If the enemy can’t perform the first action, it will perform the next action, and so on, until it meets the conditions required and performs an action. It then ignores any remaining actions, and performs the next behaviour, or ends its turn, if it has performed all of its behaviours.
Thus, the Stabber will try its best to attack a hero, and then if it’s near to a hero, retreat to safety. Bless.

All That Glitters...
I’m going to keep you reading a little longer to talk about a missing symbol that previously appeared on enemy cards—gold value. This was the amount of gold tokens the players earned when an enemy card was removed from the marching order, after every enemy of that type was defeated.
In Bardsung: Tale of the Forsaken Glade, when an enemy is defeated, the players instead add a loot token at random into a loot bag. These tokens show treasure, resources, and event symbols, as well as some being blank.

Rather than trading gold at the end of each encounter, the players then pull a number of these tokens from the bag and keep the spoils (or interact with the event).
And of course, there are plenty of things the players can do to earn extra loot pulls, or increase their odds of getting what they want… but I have to keep some surprises for you!
Phew! Another long article, but I think we’ve covered everything I wanted to talk about in combat for now. Next up? Narrative!
Come and chat with Sherwin and the rest of the SFG team in the comments below, and on the SFG Discord servers here.
And if you’re not already following on Gamefound, make sure you do that now!


